
Medic Scrapper: Guild Wars 2 PvP Guide
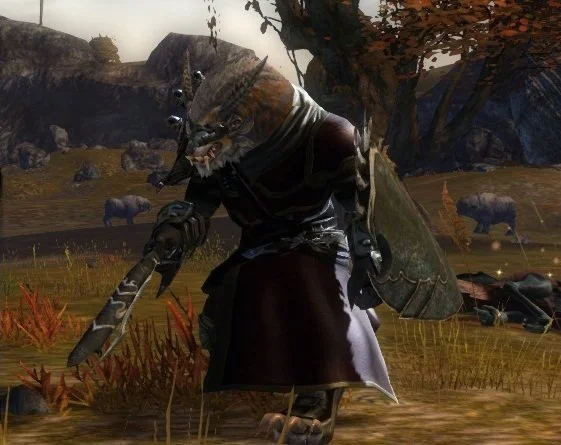
Build concept
The support scrapper looks to emphasize healing and cleansing on allies while also granting boons and protecting the team. This works incredibly in teamfights as it offers helpful benefits, defensive and of course the biggest benefit being the function gyro that can rezz allies!!
Let's talk about the build!
Weapons
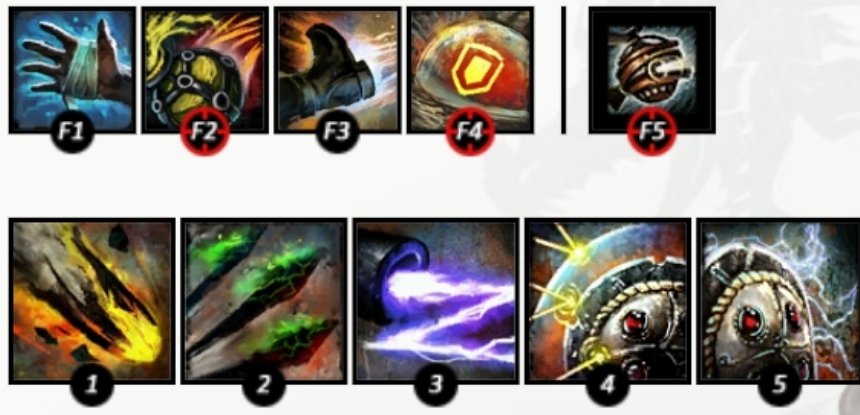
The weapon choice here is going to be pistol shield. The pistol is the only real choice as we want to use the protection and CC that the shield offers so we are pigeon holed quite a bit. The main focus of these weapons are of course to block attacks and control enemies but due to our Over Shield trait, we can grant protection to allies while also applying weakness to enemies!
The pistol shouldn’t be a sleeper weapon either as it has access to poison and confusion. Poison is best used on kill targets first, then followed up with Static Shot and Fragmentation Shot to cover the poison effect. Poison causes reduced healing making it perfect for kill targets.
The shield is mainly used for your own protection as you will be in the thick of most of the teamfight combat and you need your own protection. Granting protection damage reduction to allies will gently improve their survivability.
Skills
Your weapon skills focus on supporting allies and giving you excellent defensive options to kite enemies.
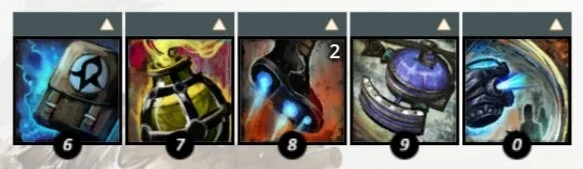
Med Kit is your main focus as a support. You offer significant healing through all of the abilities while granting boons and condition cleansing. General use of this skill is to swap in while you are trying to heal team members while they are taking damage. The big heal you have is Vital Burst which heals massively around you so stay with your team! Essentially you can spam these abilities but I suggest holding off on the condi cleanse ability cleansing burst to get the most effect. The toolbelt skill Bandage Self is your main self heal that cleanses conditions, grants protection, quickness, and superspeed. Use this liberally as it is your main heal.
Elixir U works as your main stun break but the boons it applies work well. Use this liberally as you don’t want to be caught into a crazy amount crowd control. Toss Elixir U works as a fantastic heal and stun break for allies, that will help get them out of sticky situations!
Rocket Boots are a fantastic escape tool on a relatively short cooldown. Use this to create distance between you and enemies or leap to allies to support. Rocket Kick can provide some extra dps to a target through burning but more importantly it can cover your poison condition when enemies get cleansed.
Bulwark Gyro generates a strong barrier in an area around you with a number of pulses. It also has a relatively short CD as well. Defense Zone works as a fantastic point boon as it blocks ranged attacks and grants stability to all allies within the zone.
Sneak Gyro offers an amazing pulsing stealth to nearby allies. This can be a strong engage or disengage tool. You can escape from enemies or surprise them! Another elite skill you can use is Supply Drop. The stun is fantastic along with turrets that can support or change the flow of a teamfight.
Function Gyro is the perfect way to keep your teamfights going or change the flow of a match with a rezz or finish off a downed enemy. Function Gyro also dazes when it drops so it can stop potential stomps!
Traitlines
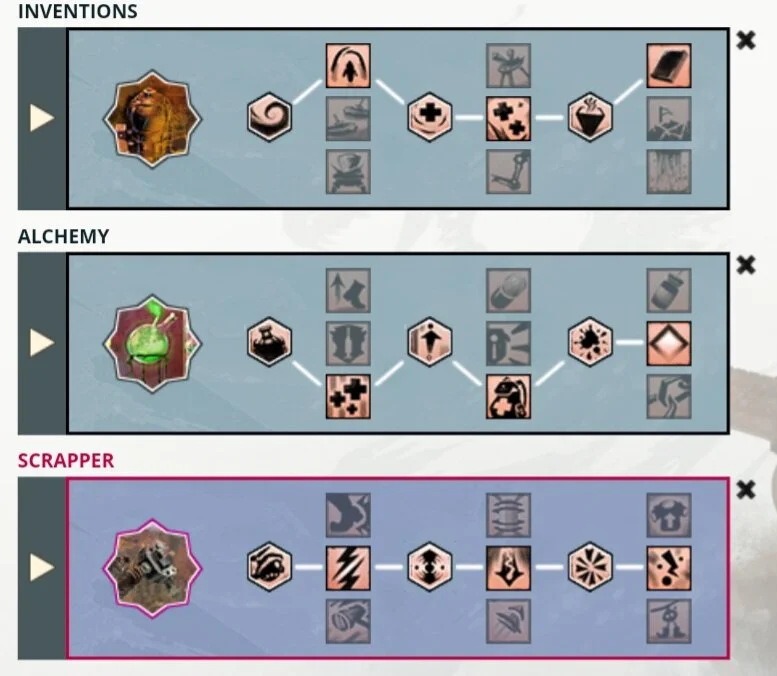
The traitlines of the Medic Scrapper focus on improving healing, boon generation and even some negative effects applied to enemies.
The inventions traitline we go 1-2-1 for condition heavy enemy teams or 1-2-3 for general use. The Overshield trait gives us protection generation on our shield skills while making us incredibly durable with the increased effects of protection up to 40% damage wall. Soothing Detonation grants us a bit of healing when using our toolbelts which can further improve survivability amongst our team. Anti-Corrosion Plating is the choice for condition teams as this will cleanse conditions as we apply protections. Medical Dispersion Field offers us a ton of free healing and can be used in many situations as an alternative to Anti-Corrosion Plating.
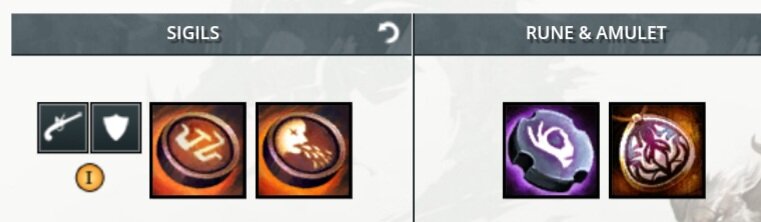
Amulet, Runes, and Sigils
For this build we are focusing on healing capabilities as well as giving us a more well rounded playstyle. Our Amulet is the Sage's Amulet which gives us healing, condition damage, some vitality, and power.
For our rune we go with the Rune of the Monk as this gives us extra healing and makes all boons we apply last a bit longer. Also the major effect that increases our healing based off of the amount of boons we have applied to targets!
Our sigils are Sigil of Transference and Sigil of Purging. Sigil of Transference flat out improves our healing onto other targets by 20% while Sigil of Purging removes a condition on hit giving us some light condition cleansing.
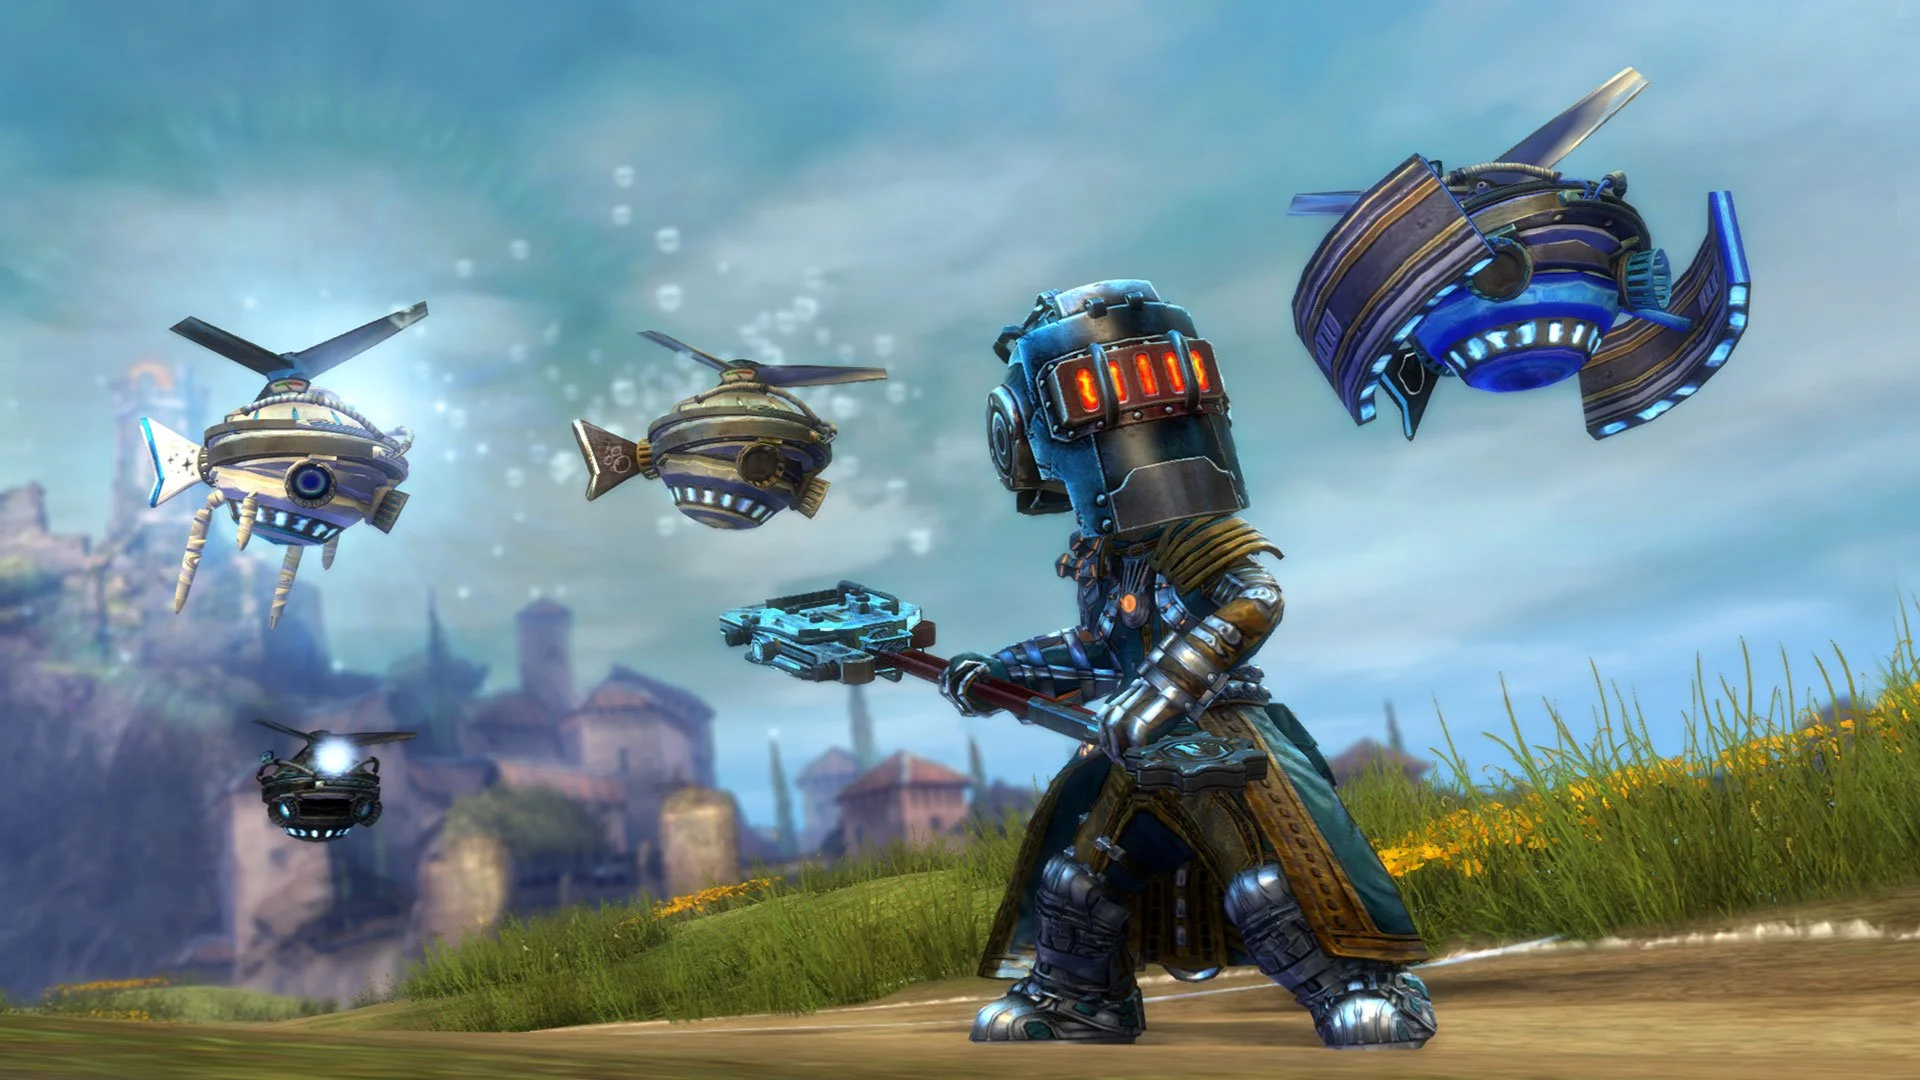
Build Playstyle
The general playstyle is to support your team as much as you can. With the tool belt skills and overall healing from the medkit you can provide quite a bit of boon uptime on your allies all the while keeping you relatively safe with your shield as a defensive as well as the rocket boots to escape when needed.
Your main focus is maintaining healing and boon generation while using your shield skills to cleanse conditions with your shield. Keep an eye out for good uses of Toss Elixir U to break allies out if stuns. Your only stun break is Elixir U so try to avoid putting yourself in bad situations!
Function Gyro can easily turn the tides of a fight so making sure you utilize it appropriately can make the difference between a team wipe and a team win. Use for finishing high value targets or rezzing your allies.
